 |
Diff'rent Strokers
For fans of oddball two-strokes everywhere
|
 |
| View previous topic :: View next topic |
| Author |
Message |
bobbyboy
Show Star !

Joined: 31 Jan 2008
Posts: 315
Location: UK
|
 Posted: Wed Mar 06, 2013 7:15 pm Post subject: Posted: Wed Mar 06, 2013 7:15 pm Post subject: |
 |
|
I had a knackered TDR250 crank repaired, which I think would be pretty much the same setup as yours, by PJME last year.
Complete rebuild including 2 new webbs cost £340.
So there's your first price guide........ good luck 
_________________
www.taffmoto.co.uk for your replacement fairing panels |
|
| Back to top |
|
 |
howARD
Joined: 21 Jul 2012
Posts: 13
Location: west yorks
|
| Posted: Wed Mar 06, 2013 9:10 pm Post subject: |
|
|
| There's a complete 2ma engine on eBay for £350 from Gecko racing , I just bought one off him that had been standing a while, crank is buggered but rest good and standard bores. |
|
| Back to top |
|
|
SP_BOTT
Joined: 12 Oct 2007
Posts: 176
Location: Norfolk
|
| Posted: Fri May 10, 2013 10:48 am Post subject: |
|
|
Forgot I'd posted on here, bit of an update. I had the crank done by norbo and cost £300 in the end, but basically a new crank. Should learn that these bikes need regular checks to keep on top of them.
So after the stripdown, decided it wouldn't be a standard rebuild, as getting a bit bored of having to have the correct bolts/brackets etc etc
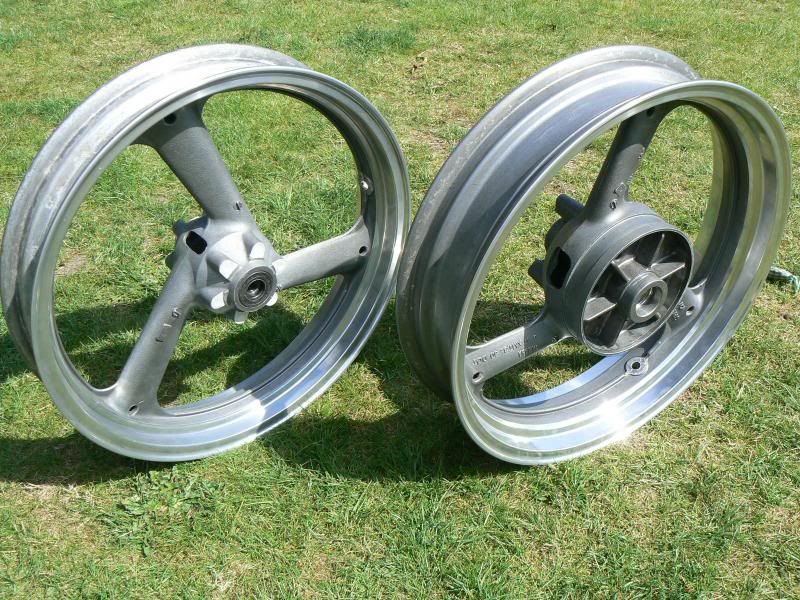
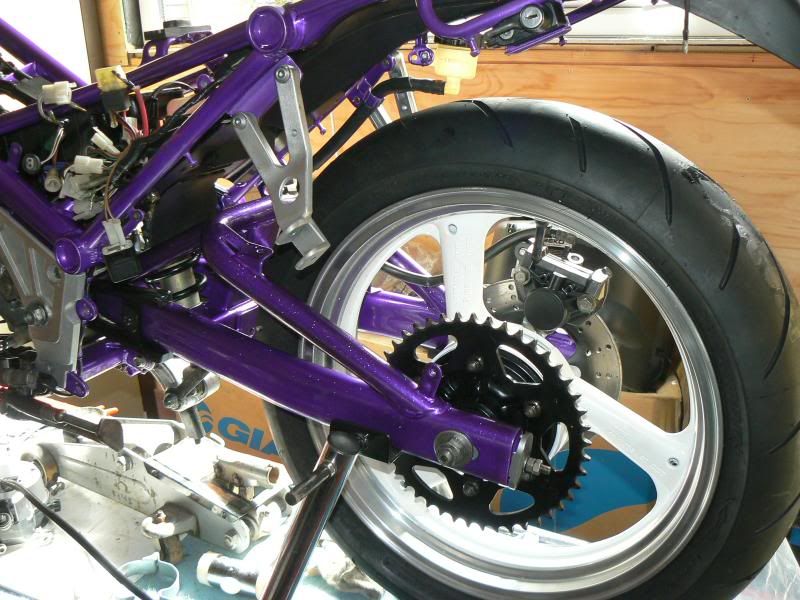
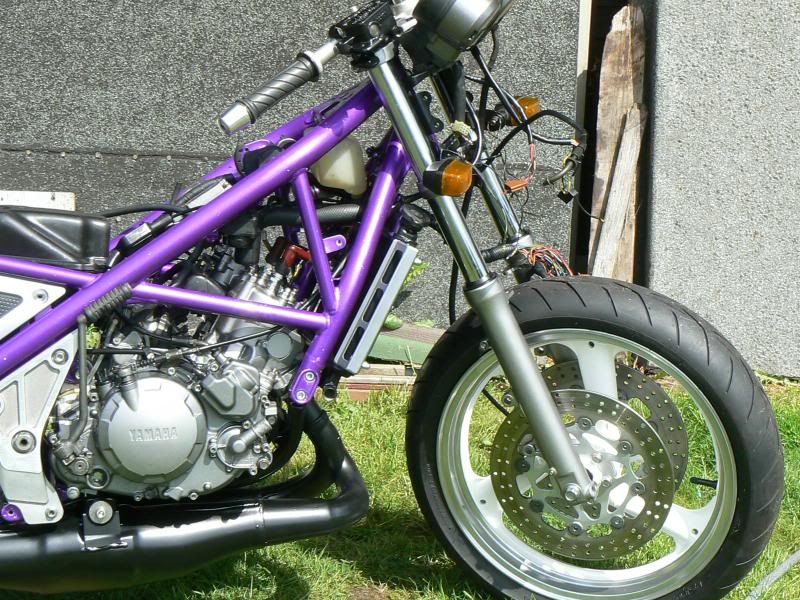
I had a go at polishing the rims after they had been started and just left, by the previous owner.

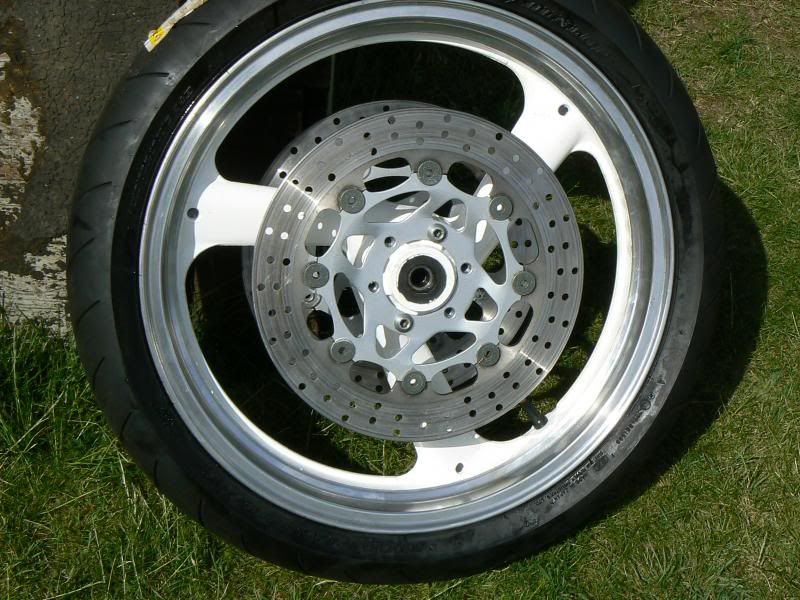
Yesterday, got round to fitting a new set of Alpha 10's I bought on offer a couple of years ago. just fitted the discs so i can get them in the frame and back on the workbench.
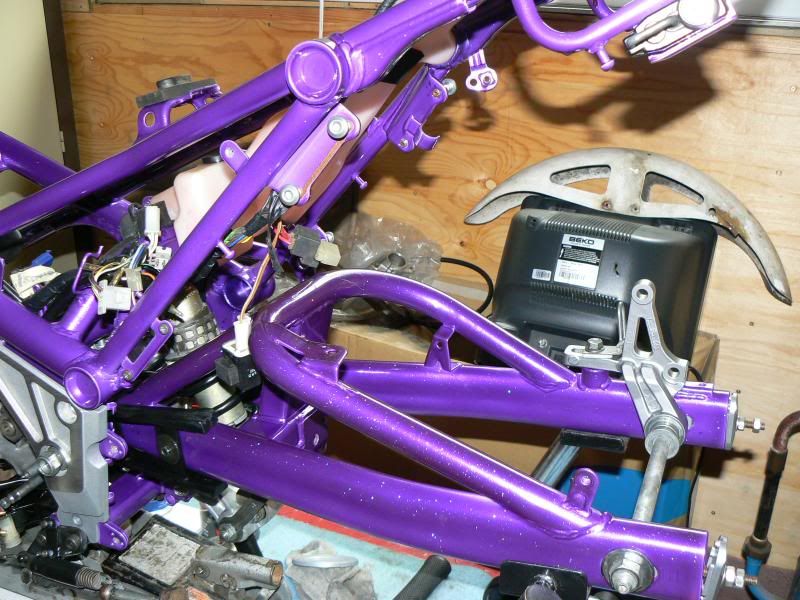
Frame picked up a couple of weeks ago, daughter picked candy pink, but they couldn't do that, so after loads of delays decided on this, looks way better in sunlight, can't see the flake in the pics unfortunately.

Gonna sort a few more pics out later for those still interested. |
|
| Back to top |
|
|
fletch
Joined: 21 Apr 2012
Posts: 288
Location: Essex
|
| Posted: Fri May 10, 2013 7:25 pm Post subject: |
|
|
WOW!!
Thats rather bold  good on ya for going against the grain and doing something different to a standard resto, what colour you doin the bodywork? Am deffo interested to see what it going to look like good on ya for going against the grain and doing something different to a standard resto, what colour you doin the bodywork? Am deffo interested to see what it going to look like |
|
| Back to top |
|
|
SP_BOTT
Joined: 12 Oct 2007
Posts: 176
Location: Norfolk
|
| Posted: Tue May 14, 2013 6:59 pm Post subject: |
|
|
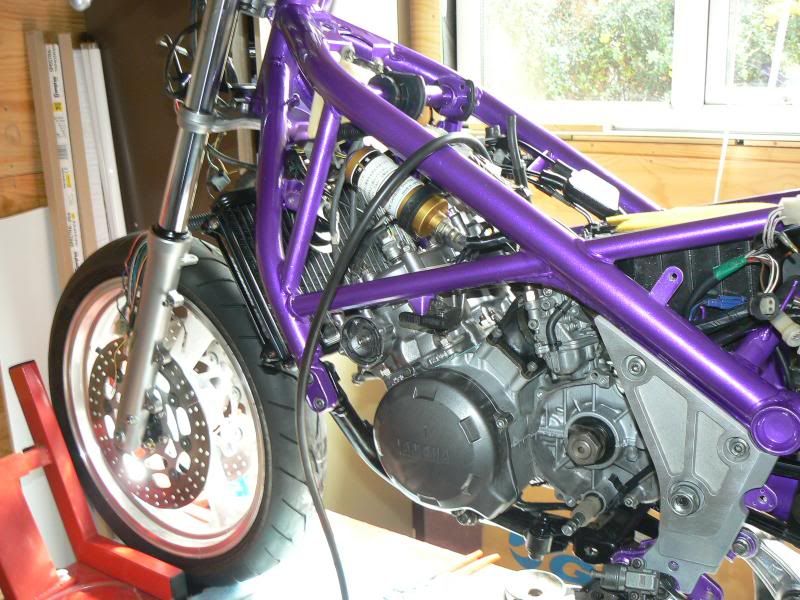
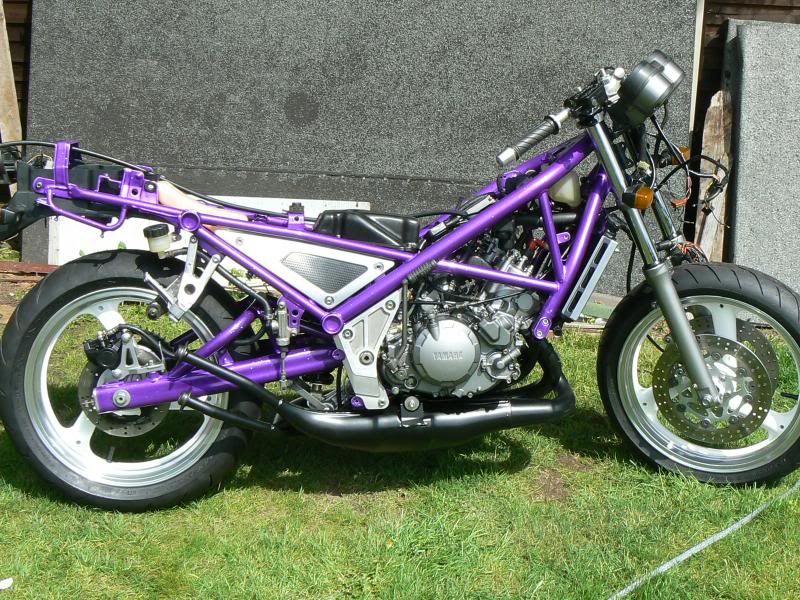
Bit more of an update, got on quite well with it this last few weeks.
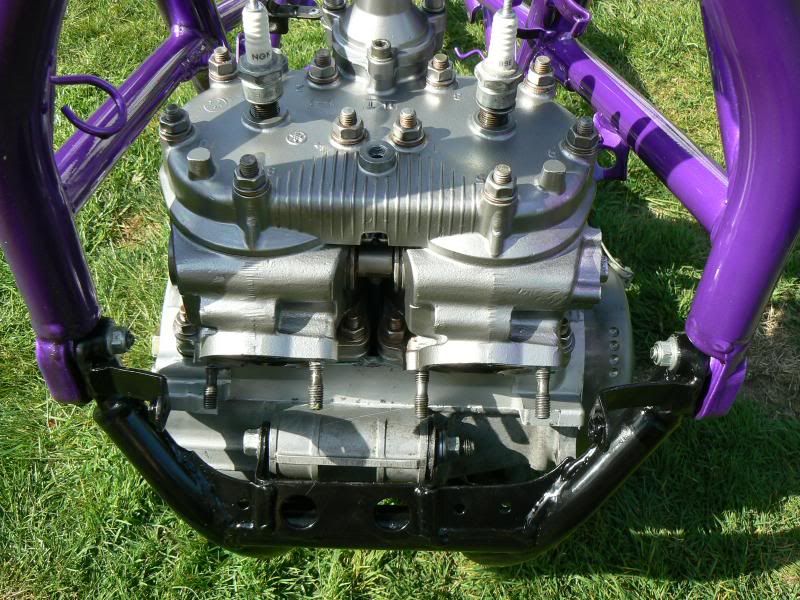
Engine and cradle painted, then fitted to the bike, a bit of a pain, as I got it fitted in the wrong order. Also bought a new head for it with not pitting.
Can't quite see it here but the ahock came up really well, I'll see if it still needs a new one, after a test ride and MOT.

Got a lot of the ancillaries fitted, looks like I need a new RH switch, as mine is cracked across the housing fixing,
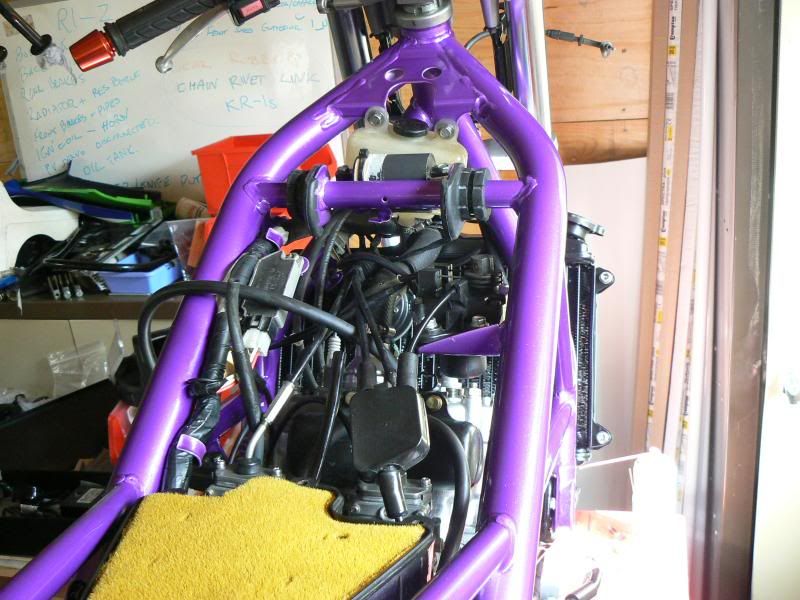
Basically where I'm up to now, just started the bodywork today, replacing some missing lugs and clips as usual. Rad painted and fitted.

 |
|
| Back to top |
|
|
Tom Mac
Show Star !

Joined: 04 Dec 2006
Posts: 227
Location: UK
|
| Posted: Wed May 15, 2013 12:48 pm Post subject: |
|
|
| SP_BOTT wrote: |
Bit more of an update, got on quite well with it this last few weeks.
Engine and cradle painted, then fitted to the bike, a bit of a pain, as I got it fitted in the wrong order. Also bought a new head for it with not pitting.
|
nice job so far, but you'll need to change the four nuts that secure the head down either side of the spark plugs. These should be domed nuts with copper washers underneath as the studs they are secured to run in the water jacket
_________________
my TDRs from over the years:
 |
|
| Back to top |
|
|
fletch
Joined: 21 Apr 2012
Posts: 288
Location: Essex
|
| Posted: Sat May 18, 2013 8:50 pm Post subject: |
|
|
| Thats looking really good |
|
| Back to top |
|
|
SP_BOTT
Joined: 12 Oct 2007
Posts: 176
Location: Norfolk
|
| Posted: Mon May 27, 2013 8:04 am Post subject: |
|
|
Have now changed the head nut for the domed nuts, thought it was a bit strange, as all the domed nuts were on the barrel studs which I'd not come across before.
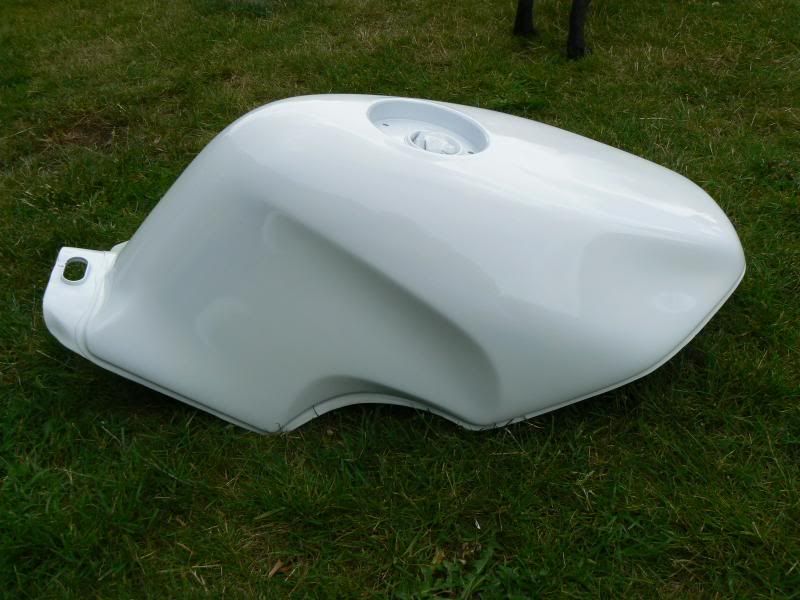
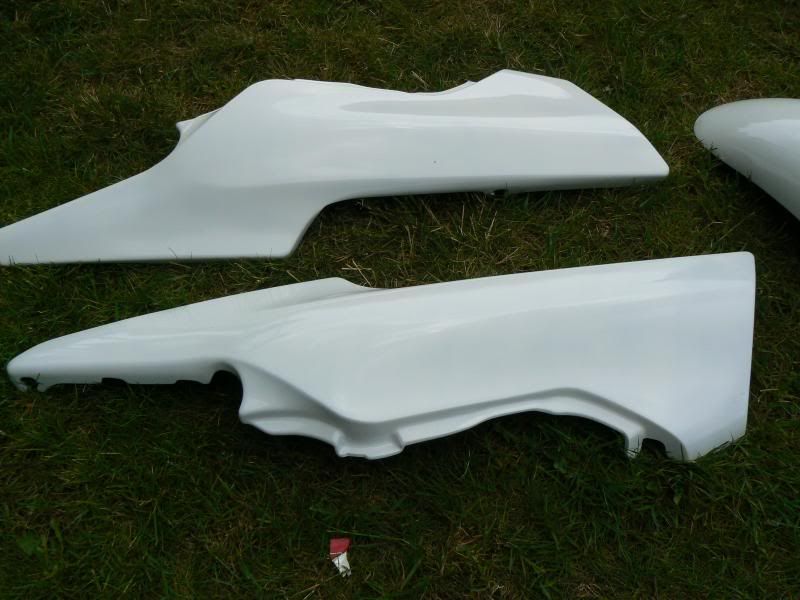
Started to rub down the bodywork, got the panels all done and coated in plastic primer, (needed a few repairs to the tins clips and a couple of lugs) finished getting the clearcoat off the tank yesterday, to find a small hole at the bottom of the tank.
I've got to repair it as there aren't any others around, unless I try Yahoo Japan.
Off to work tomorrow to see if someone can braze it up. Peed of slightly 
I'm just waiting on some caliper rebuild kits, and then it's nearly finished, wiring/headlamp etc still to do, and fill with fluids, a bit behind Howard, and now seeing his exhausts, I find myself trawling fleabay, for something similar.
Got some nice cans to go on, but I need to make an adaptor up first, as the bolt pattern is all wrong on these ones.
 |
|
| Back to top |
|
|
Top-shaggy
Show Star !

Joined: 05 Mar 2011
Posts: 1757
Location: Derbyshire
|
| Posted: Mon May 27, 2013 10:10 am Post subject: |
|
|
Well smart !! 
_________________
We are where we are... |
|
| Back to top |
|
|
SP_BOTT
Joined: 12 Oct 2007
Posts: 176
Location: Norfolk
|
| Posted: Sat Jun 15, 2013 10:45 am Post subject: |
|
|
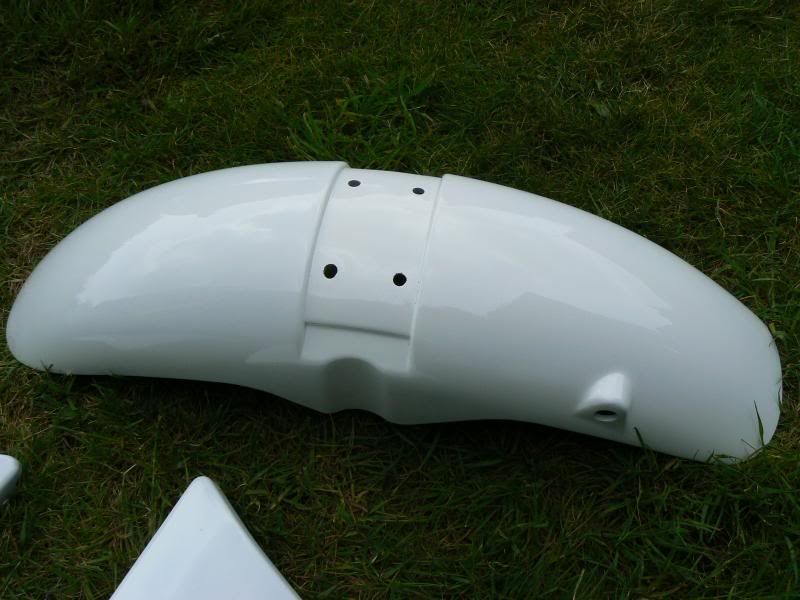
Bit the bullet and had a go at the paintwork, had done some a good few years ago. Have spent ages filling, sanding, priming, rubbing etc etc
Not come out too bad so far for an amateur, lots still to do as it's only the first coat, got a couple of wrinkles from somewhere as well now.
haven't worked out a 'design' yet, but apparently it's going to be quite simple, with just a couple of flashes of colour.
 |
|
| Back to top |
|
|
R1Zman
Joined: 25 Feb 2012
Posts: 94
Location: Northampton
|
| Posted: Sat Jun 15, 2013 11:21 am Post subject: |
|
|
| SP_BOTT wrote: |
Bit the bullet and had a go at the paintwork, had done some a good few years ago. Have spent ages filling, sanding, priming, rubbing etc etc
Not come out too bad so far for an amateur, lots still to do as it's only the first coat, got a couple of wrinkles from somewhere as well now.
haven't worked out a 'design' yet, but apparently it's going to be quite simple, with just a couple of flashes of colour.
|
looks good for an "amateur"
ps for wrinkles I borrow the wife's oil of Ulay, but once you are over 50 I'm afraid you are flogging a dead horse  |
|
| Back to top |
|
|
SP_BOTT
Joined: 12 Oct 2007
Posts: 176
Location: Norfolk
|
| Posted: Sat Jun 15, 2013 12:12 pm Post subject: |
|
|
| R1Zman wrote: |
ps for wrinkles I borrow the wife's oil of Ulay, but once you are over 50 I'm afraid you are flogging a dead horse |
Nice one, I'm a doomed man then, got anything stronger than 'Ulay' do they do an industrial version  |
|
| Back to top |
|
|
SP_BOTT
Joined: 12 Oct 2007
Posts: 176
Location: Norfolk
|
| Posted: Wed Jul 24, 2013 4:07 pm Post subject: |
|
|
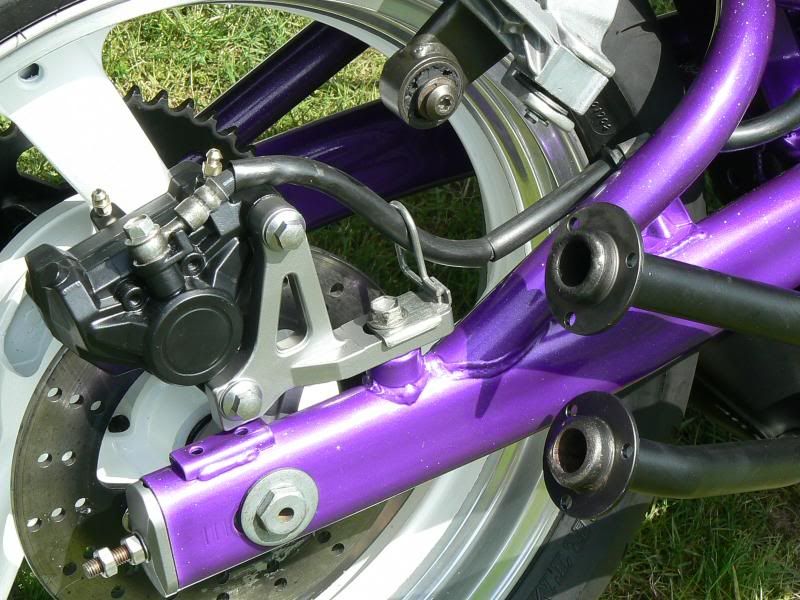
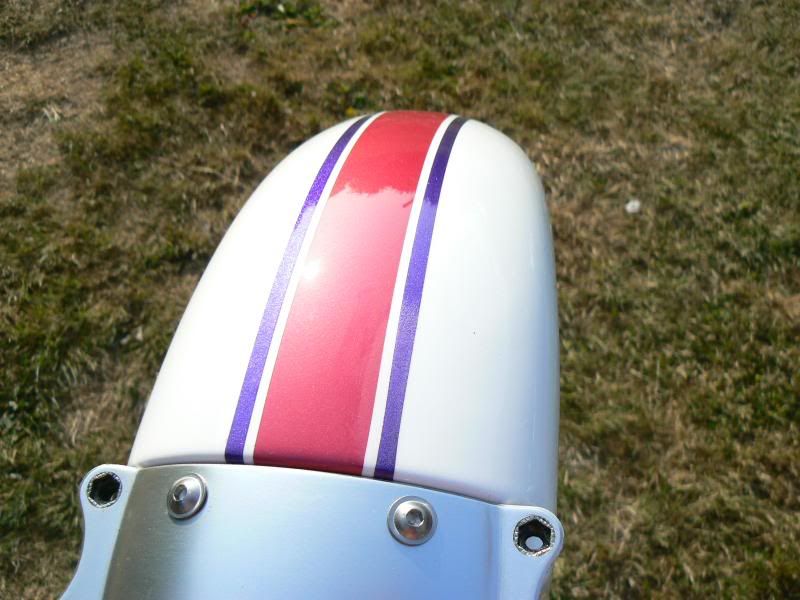
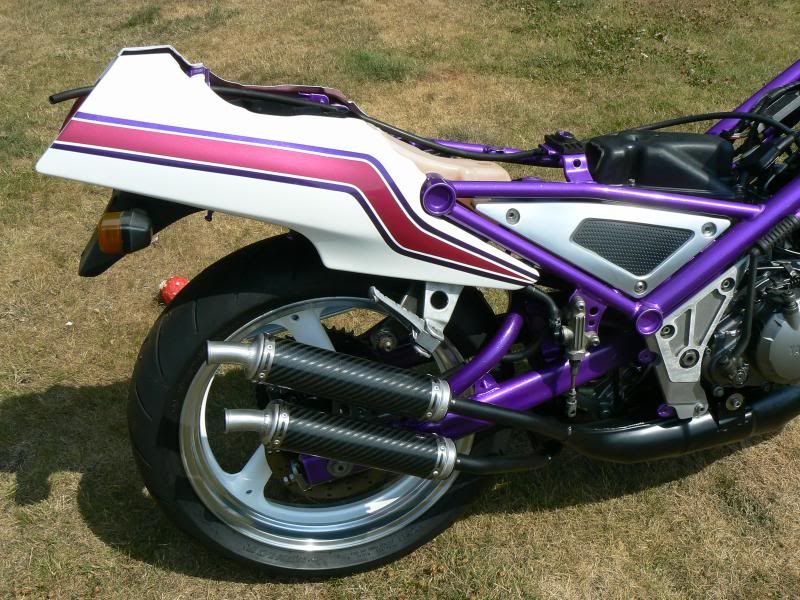
Not quite totally finished, but you'll get the idea, got braided lines still to fit, top with fluid, and brakes should be complete. Made the alloy spacer for the cans at work (it's a bit rough, but can be machined/finished later) might have a go at starting it this week.
Really pleased with how the paintwork ended up, did it all in the garden when we had good weather last week. All from rattle cans, and finish is really nice, not really needing to cut and polish yet, but the tank does need a little more work to remove some orange peel.
And best of all, daughters over the moon, having a bit of 'hands on' doing some of the decals and paintwork too


 |
|
| Back to top |
|
|
Howie

Joined: 18 Oct 2009
Posts: 511
Location: Kwaksville
|
| Posted: Wed Jul 24, 2013 5:28 pm Post subject: |
|
|
I like that, I like that a lot
Crikey, I think I need to get on with my 1kt now  |
|
| Back to top |
|
|
fletch
Joined: 21 Apr 2012
Posts: 288
Location: Essex
|
| Posted: Sun Aug 04, 2013 4:29 pm Post subject: |
|
|
Looks good Paul
Was bit dubious when you said the colours you were gonna use but it looks great |
|
| Back to top |
|
|
|
|
You cannot post new topics in this forum
You cannot reply to topics in this forum
You cannot edit your posts in this forum
You cannot delete your posts in this forum
You cannot vote in polls in this forum
|
|


