| View previous topic :: View next topic |
| Author |
Message |
turbopresh
Joined: 16 Sep 2014
Posts: 24
Location: Belfast
|
 Posted: Sat Sep 20, 2014 8:43 pm Post subject: Posted: Sat Sep 20, 2014 8:43 pm Post subject: |
 |
|
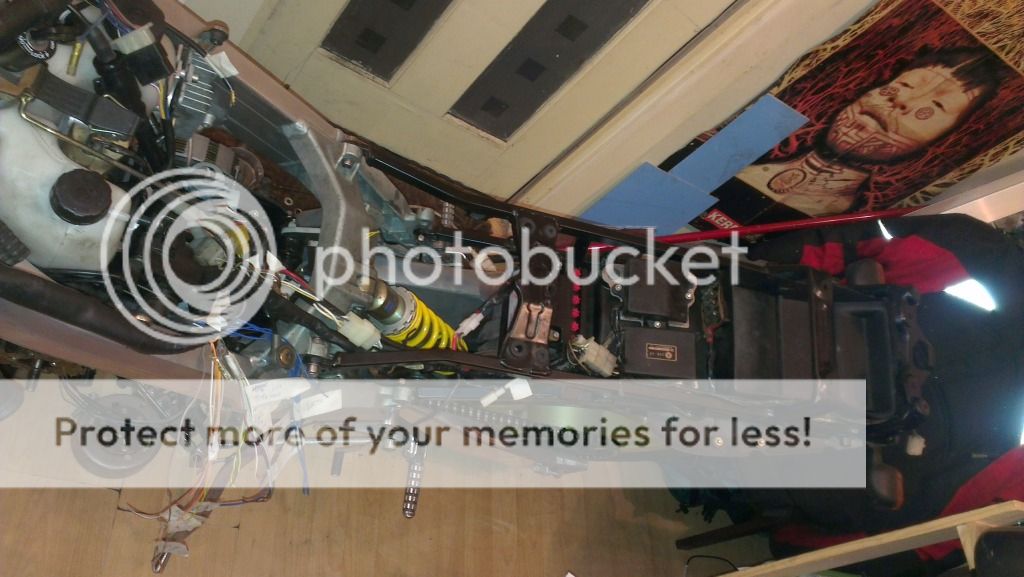
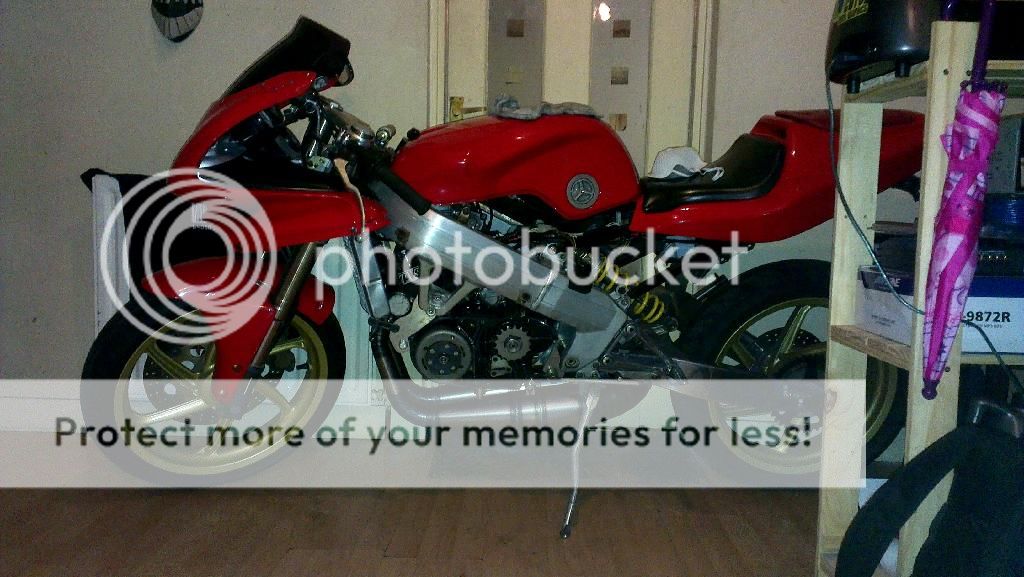
Done a bit more of the wiring tonight.. tidied up the back end a bit more, wired in the fuse box and extended the wires for the rear indicators.. also started studying the mito diagram and segregated everything up into their various categories ie. Earth, live, signal and what components they ran to in order to simplify the process of splicing the two looms together..
Lol I was wondering what that rustling noise was when i got up and opened the blinds in the morning fabs
Mr rea spent a few minutes on the lathe and that's the spacers for the anti-vibe bars ready  thanks buddy.. thanks buddy..

IMG]http://i442.photobucket.com/albums/qq148/turbopresh/el%20mito/IMAG0053_zps4f148fa2.jpg[/IMG]
The wiring part way through...
And everything working..

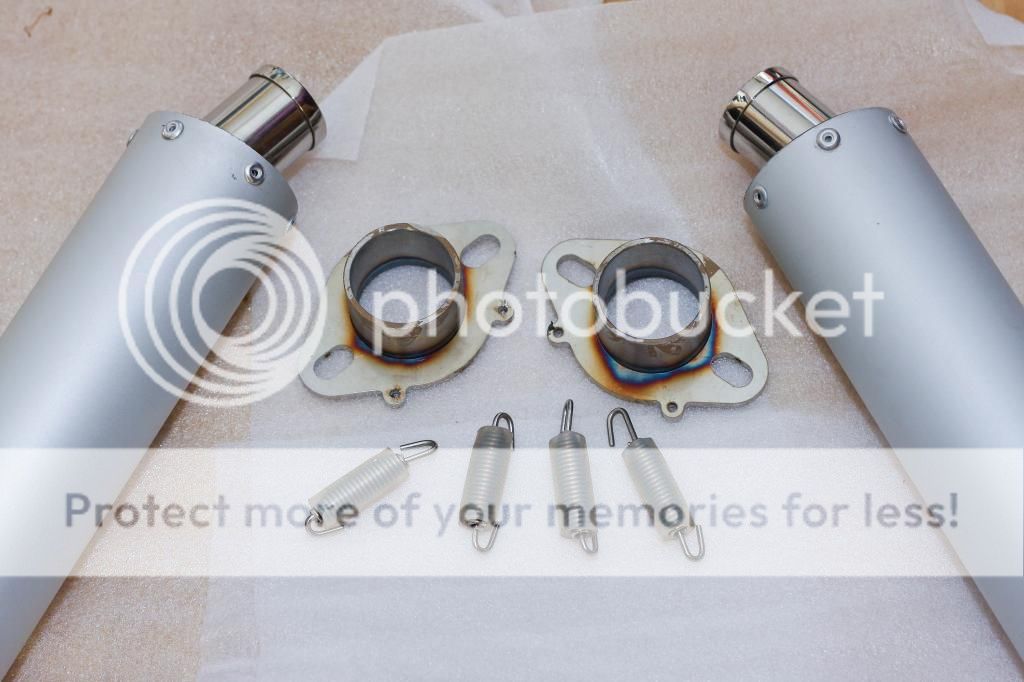
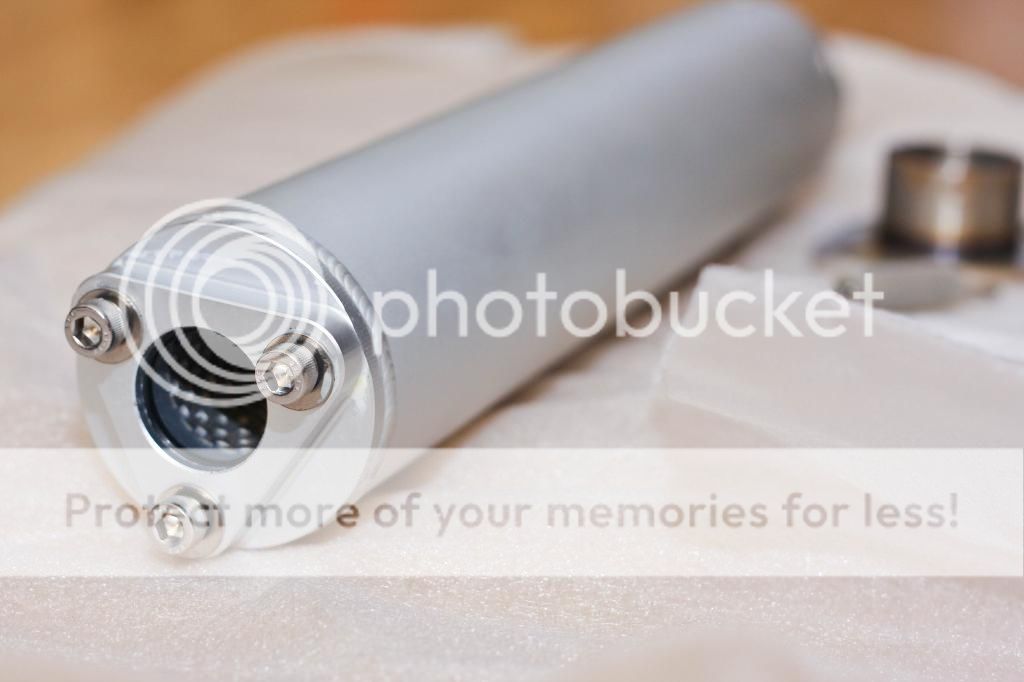
Postman brought me a little present today/yesterday


 |
|
| Back to top |
|
 |
turbopresh
Joined: 16 Sep 2014
Posts: 24
Location: Belfast
|
| Posted: Sat Sep 20, 2014 8:47 pm Post subject: |
|
|
thats the wiring finished not as neat as i'd hoped.. may redo some of it but for now it will do the job just fine..


Work hath started again.. fired the pipes on this morning.. this will let me cue up the bodywork and finish any modifications here before I drop them off for painting.
Clutch lever and perch installed.. now happy I actually have a manageable clutch with the extra bit of leverage compared to the standard mito assembly as shown..

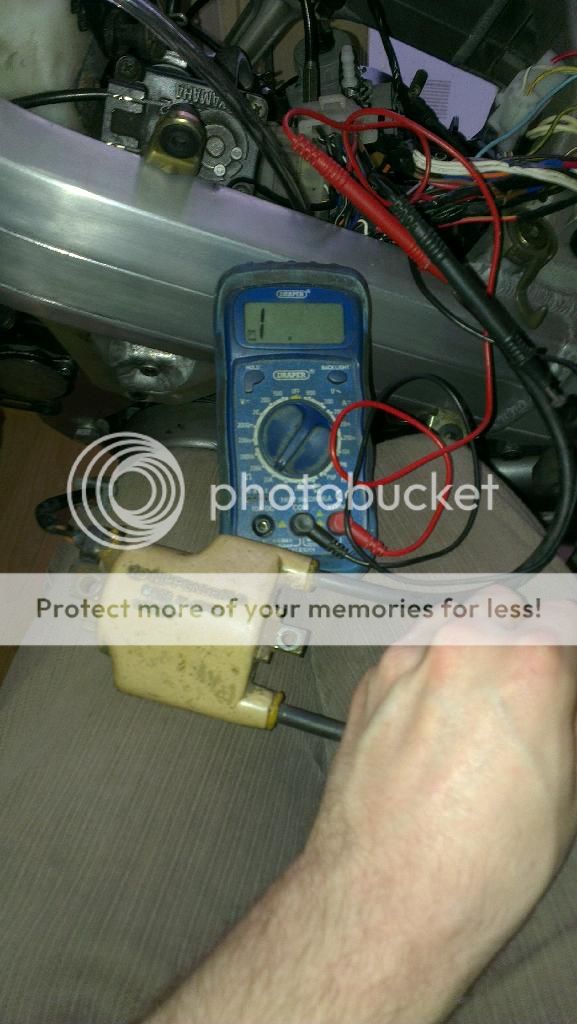
Tried to start her earlier but no spark so..
Strip down session tomorrow evening to see if I can find the problem.. have a few niggle bits of wiring I wanted to fix anyway so I suppose I can fix those whilst I'm in there lol
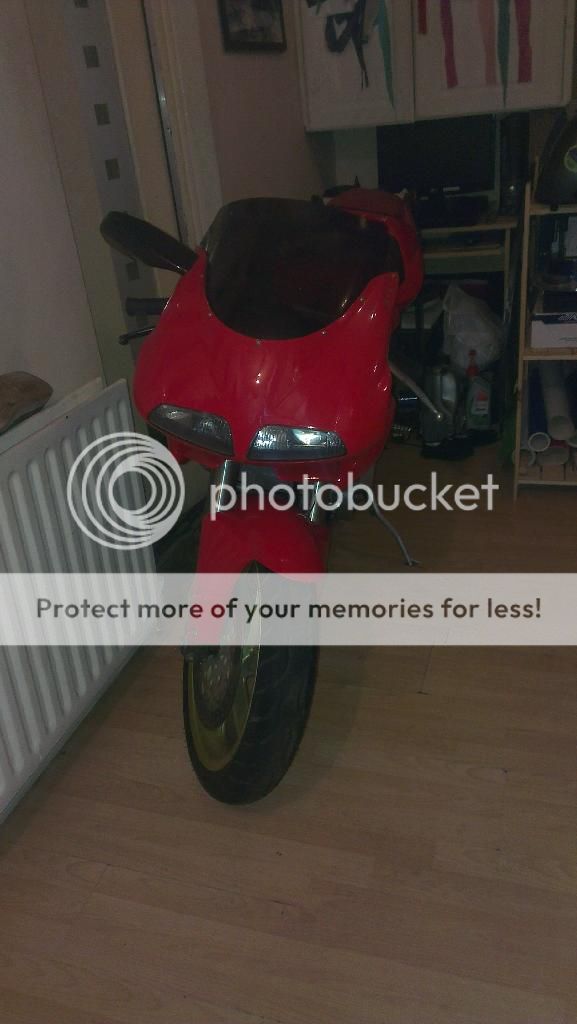
brought her back into the house to keep warm whilst doing lots of tea drinking and head scratching 
So aye.. that'd do it.. scrap coils.. just spent an hour stripping the wiring back for nothing 
Whoop whoop!

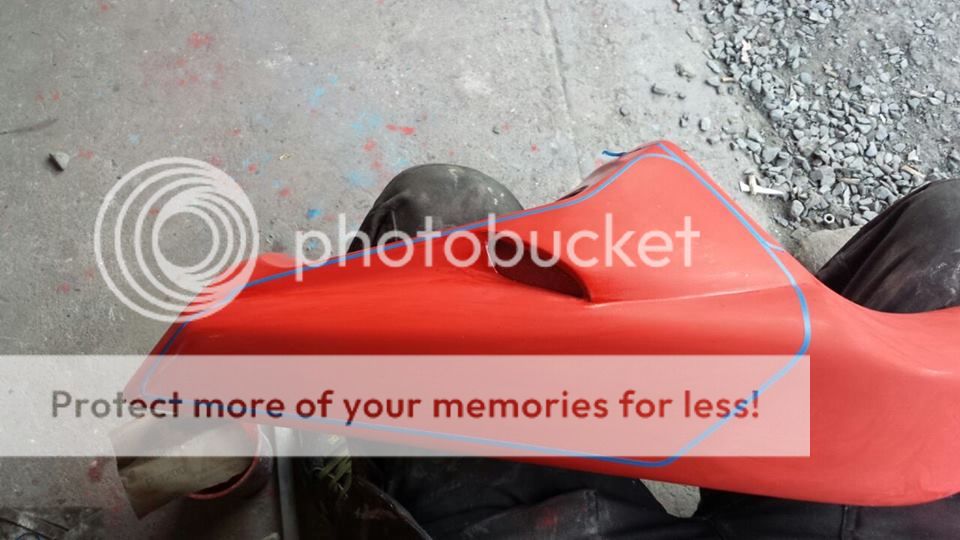
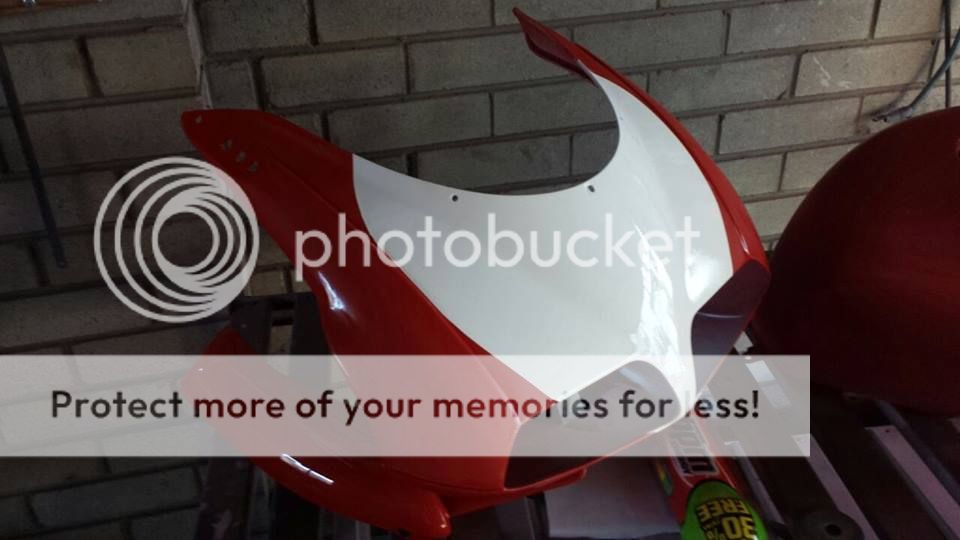
Cueing up the bodywork 


got a few photos from the painter..

 |
|
| Back to top |
|
|
turbopresh
Joined: 16 Sep 2014
Posts: 24
Location: Belfast
|
| Posted: Sat Sep 20, 2014 8:56 pm Post subject: |
|
|
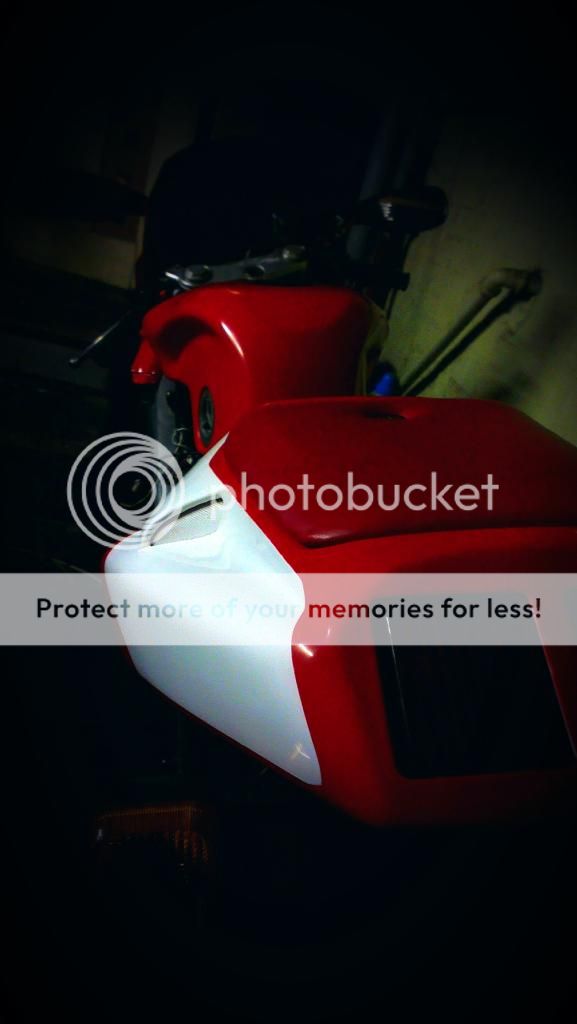
wee teaser of the tail.. next photo I upload will be her basically completed, lacquering the exhausts today and fit the rest of the bodywork tonight/tomorrow..
 |
|
| Back to top |
|
|
turbopresh
Joined: 16 Sep 2014
Posts: 24
Location: Belfast
|
|
| Back to top |
|
|
gammaguy21
Joined: 07 Jan 2011
Posts: 70
|
| Posted: Mon Sep 22, 2014 7:19 pm Post subject: |
|
|
Thanks for posting it here. Tough to go through when the pictures aren't in the thread (on your link).
Those exhaust look fantastic! |
|
| Back to top |
|
|
emzedder
Joined: 15 Dec 2006
Posts: 324
Location: E.Anglia
|
| Posted: Tue Sep 23, 2014 5:50 pm Post subject: |
|
|
Really enjoyed looking through your photographic record of a lovely build. Working indoors on laminate floor is just the best!
_________________
If it don't ring-a-ding-ding it ain't worth a thing |
|
| Back to top |
|
|
turbopresh
Joined: 16 Sep 2014
Posts: 24
Location: Belfast
|
| Posted: Tue Sep 23, 2014 8:55 pm Post subject: |
|
|
no worries guys, glad you liked it.. laminate flooring is the dogs danglies, if only it was heated then I would really be in heaven!
Thanks, I love the exhausts, they are the most expensive part of the build for flip sake but they sure are nice to look at.. I now have them lacquered and cured them in the oven in uni so fingers crossed that keeps them good for a while. I would absolutely love a set of carbon exhausts for them but they're a nightmare to find |
|
| Back to top |
|
|
|


