 |
Diff'rent Strokers
For fans of oddball two-strokes everywhere
|
 |
| View previous topic :: View next topic |
| Author |
Message |
SP_BOTT
Joined: 12 Oct 2007
Posts: 176
Location: Norfolk
|
 Posted: Thu Mar 18, 2010 7:47 pm Post subject: My 3MA1 Posted: Thu Mar 18, 2010 7:47 pm Post subject: My 3MA1 |
 |
|
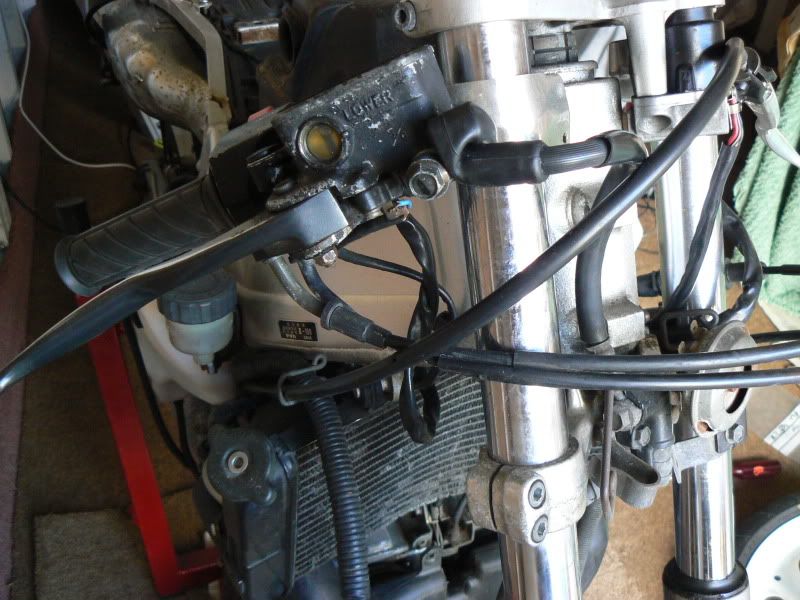
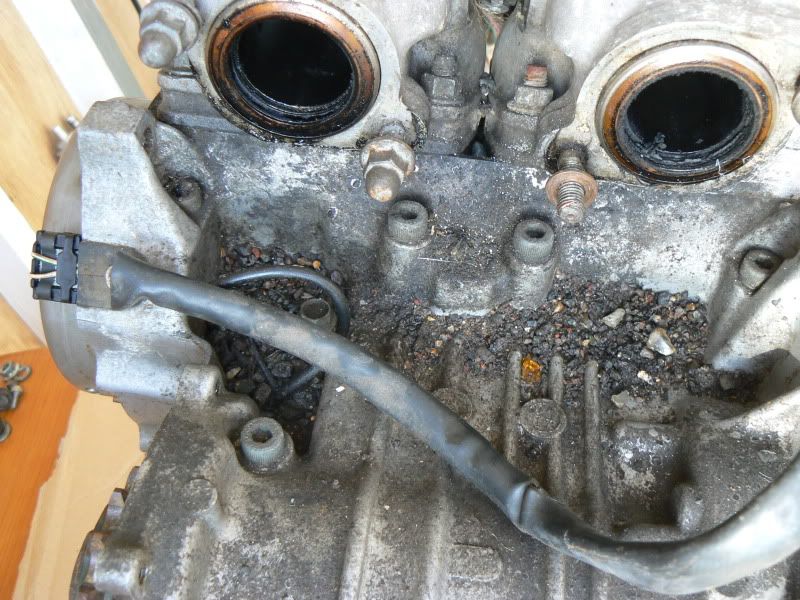
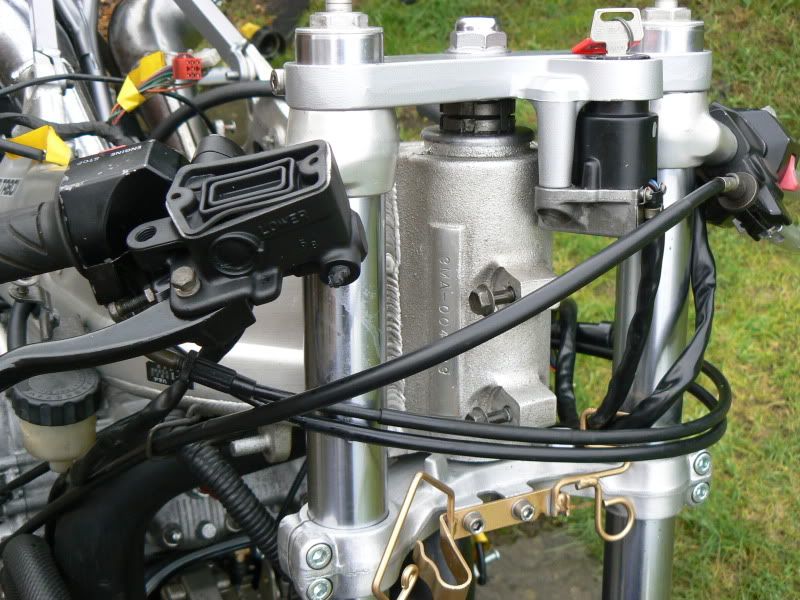
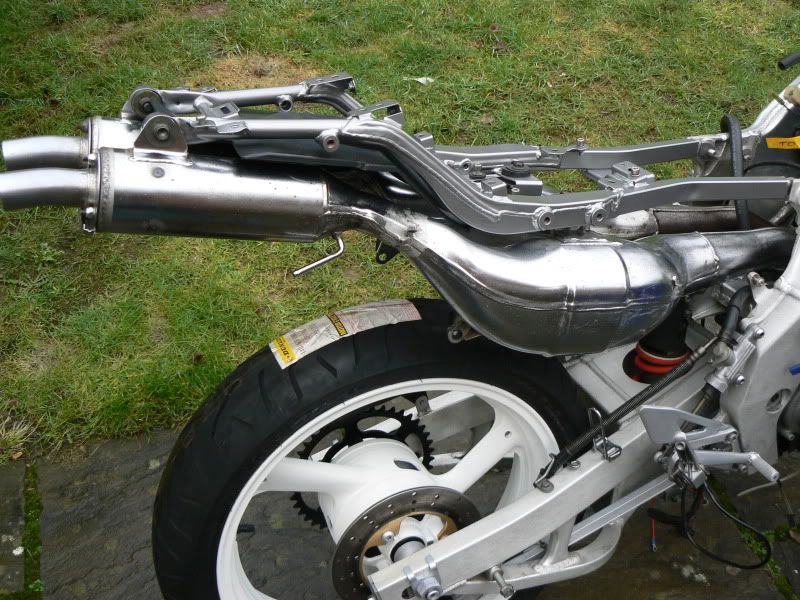
Hi all, just about finished this, not gone for anything silly, just a quick tidy up as I plan to use it a bit this year, had it 2/3 years and been stuck in the garage ever since. been posted on another forum already (so as not to bore you again  ) )
started out like this
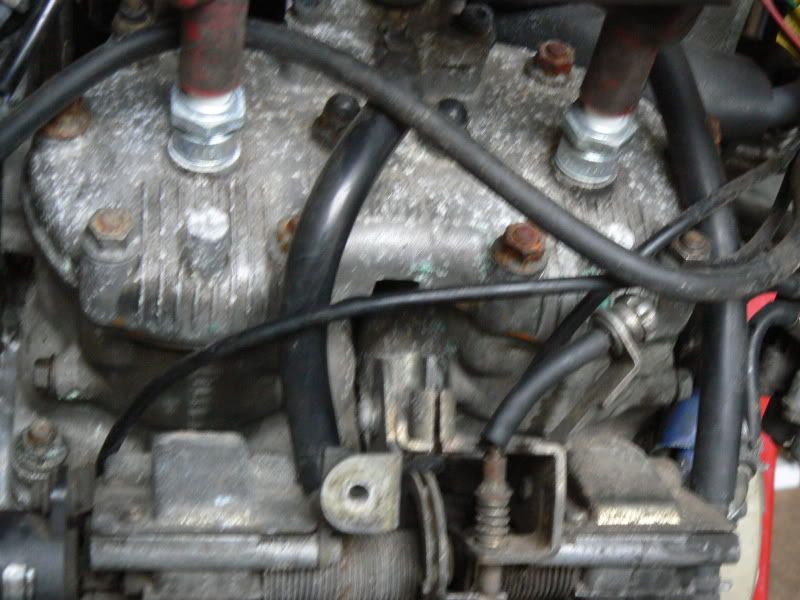
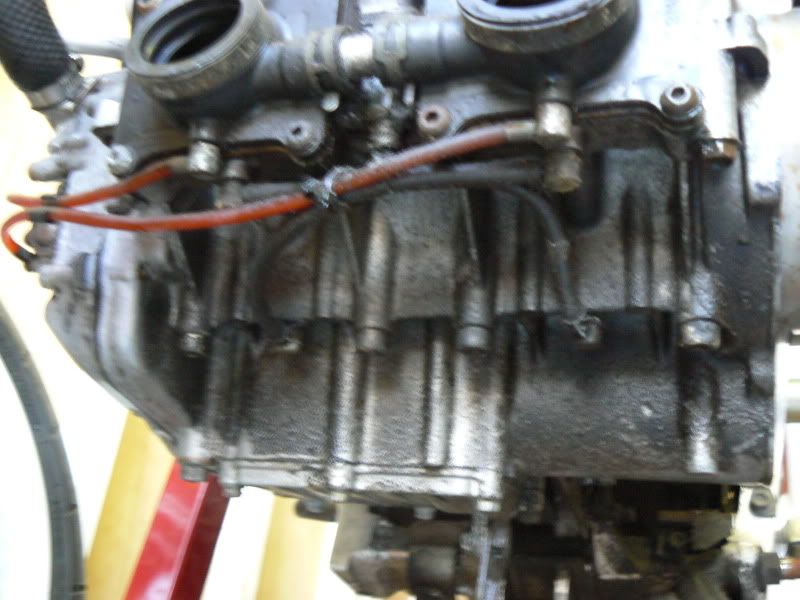
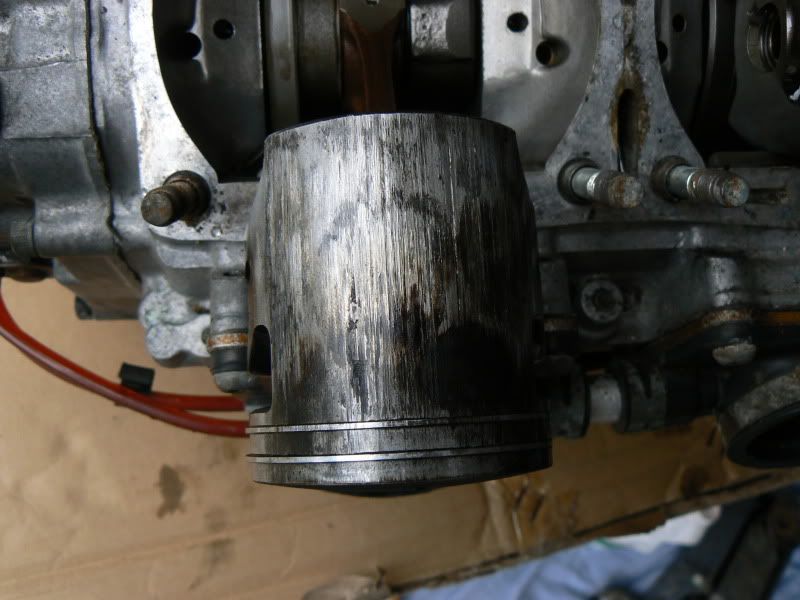
Found a seized piston, both barrels had had a cast liner pressed into them, both on different oversizes
Engine out
Pressure wahed in the garden, none of this expensive vapour blasting
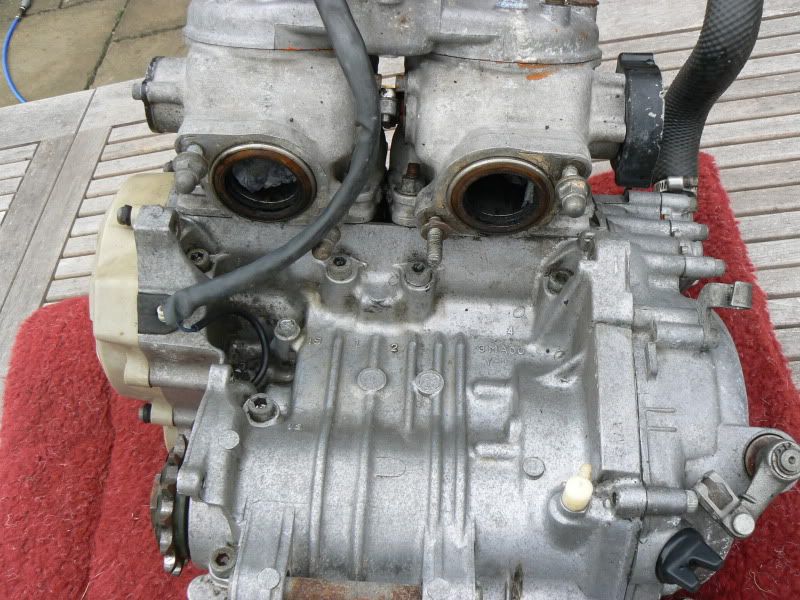
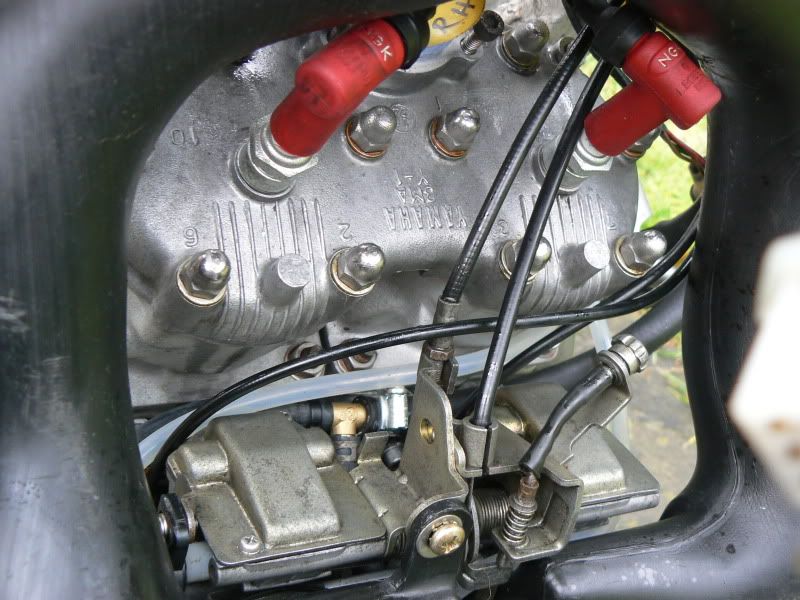
To cut a long story short, lots of painting polishing etc etc, carbs were an absolut mess, everything covered in dirt and c##p.
 # #
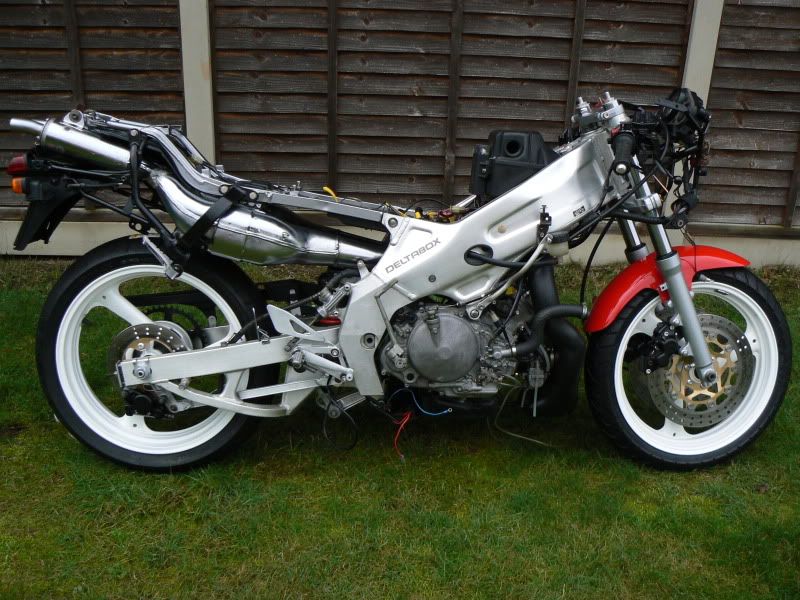
Have started it on replated barrels and new pistons, and then found the petrol tank has rusted through, just got to complete the bodywork and now attempting to fit a 4DL plastic tank. still not ridden it yet, but hopefully sometime this year ???????
Last edited by SP_BOTT on Mon Mar 22, 2010 5:15 pm; edited 1 time in total |
|
| Back to top |
|
 |
bobbyboy
Show Star !

Joined: 31 Jan 2008
Posts: 315
Location: UK
|
| Posted: Thu Mar 18, 2010 8:35 pm Post subject: |
|
|
Fabulous job 
Good to see a restoration done on a budget, rather than throwing loads of money at it.
Would love a 3ma in original condition, but still no luck finding one. 
_________________
www.taffmoto.co.uk for your replacement fairing panels |
|
| Back to top |
|
|
BenR
Joined: 24 Aug 2009
Posts: 59
|
| Posted: Thu Mar 18, 2010 10:13 pm Post subject: |
|
|
Fantastic project mate!  I'd love a 3MA but alas no money & the wolf needs fixing. I'd love a 3MA but alas no money & the wolf needs fixing.  |
|
| Back to top |
|
|
StrokerBoy
Show Star !

Joined: 15 Nov 2006
Posts: 1293
Location: Oop North, UK
|
| Posted: Thu Mar 18, 2010 11:09 pm Post subject: |
|
|
Very nice indeed. Wanna do the same with mine ?  |
|
| Back to top |
|
|
Howie

Joined: 18 Oct 2009
Posts: 511
Location: Kwaksville
|
| Posted: Sat Mar 20, 2010 8:47 am Post subject: |
|
|
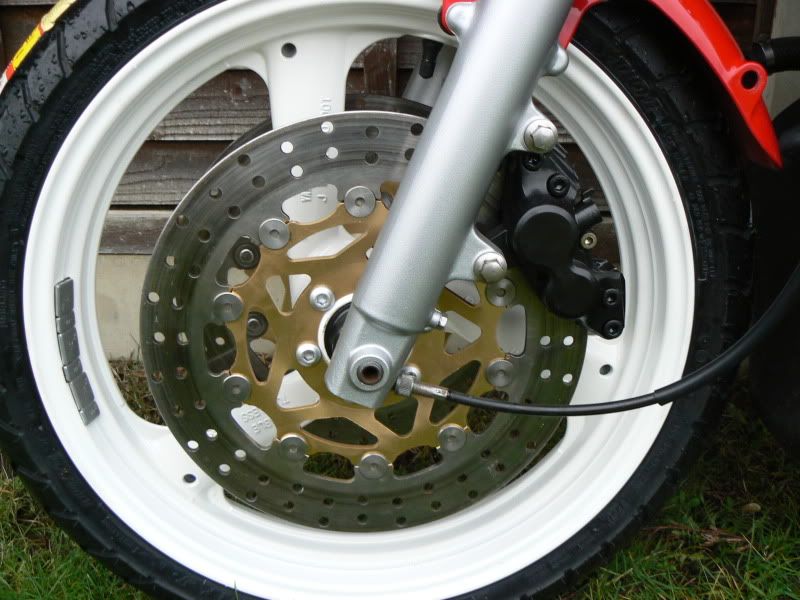
Thats a top job SP, nice to see bikes retored at home 
Did you paint the wheels? If so what did you use?
Howie |
|
| Back to top |
|
|
SP_BOTT
Joined: 12 Oct 2007
Posts: 176
Location: Norfolk
|
| Posted: Mon Mar 22, 2010 5:15 pm Post subject: |
|
|
Thanks all, got tons of pics but put a lot of them up on the TZR forum, wheels were stove enamelled by a local guy I thought I'd try out. There are 3 TZR's on fleabay now, enough for everyone
Now trying to fit a 4DL tank as the original has rotted through, going ok so far but trying to change the fuel taps for something larger, as I am totally paranoid about this (for probably no reason, as even an R1 etc only has a 5mm tap, I'm guessing)
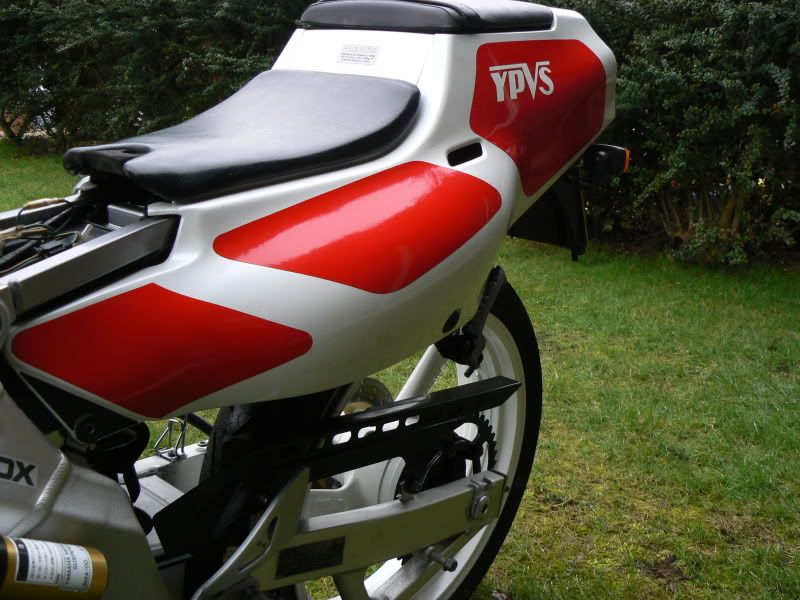
Been having a go myself at repairing the fairings, as they were wired together as they have several chunks missing, and very large cracks in, (got the idea off Strokerboy's site)
also need to locate a petrol cap and then it's MOT time, |
|
| Back to top |
|
|
BenR
Joined: 24 Aug 2009
Posts: 59
|
| Posted: Mon Mar 22, 2010 5:50 pm Post subject: |
|
|
| More pics FTW. |
|
| Back to top |
|
|
StrokerBoy
Show Star !
Joined: 15 Nov 2006
Posts: 1293
Location: Oop North, UK
|
| Posted: Tue Mar 23, 2010 9:43 am Post subject: |
|
|
| SP_BOTT wrote: |
Been having a go myself at repairing the fairings, as they were wired together as they have several chunks missing, and very large cracks in, (got the idea off Strokerboy's site)
|
Cool, let us know how you get on. Still something I've not yet tried myself, but a fellow KR owner has had success using very basic tools and I published his words and pics HERE. |
|
| Back to top |
|
|
twosmoke
Joined: 10 Sep 2008
Posts: 37
Location: Leicestershire
|
| Posted: Thu Mar 25, 2010 3:59 pm Post subject: |
|
|
| Nice job. I really like the reverse cylinder model and this is the best colour scheme as well. |
|
| Back to top |
|
|
SP_BOTT
Joined: 12 Oct 2007
Posts: 176
Location: Norfolk
|
| Posted: Fri Mar 26, 2010 8:32 pm Post subject: |
|
|
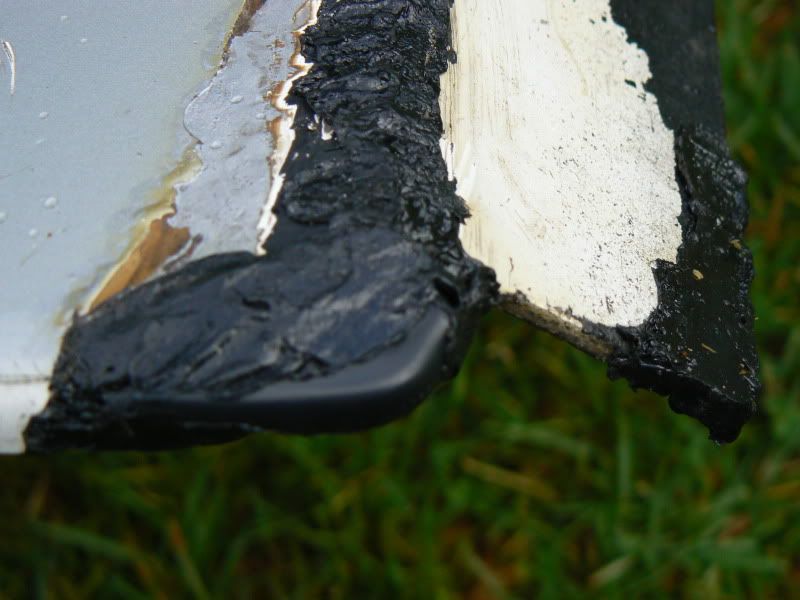
Been having a go at the fairings as they are quite bad as mentioned, thought 'I've got nothing to loose' so out came the soldering iron and a few coathangers and cable ties
I had already read the link on Strokerboy's site and decided to give it a go myself (I have two spare fairing panels now if it all went wrong)
A few pics of what I had to start with
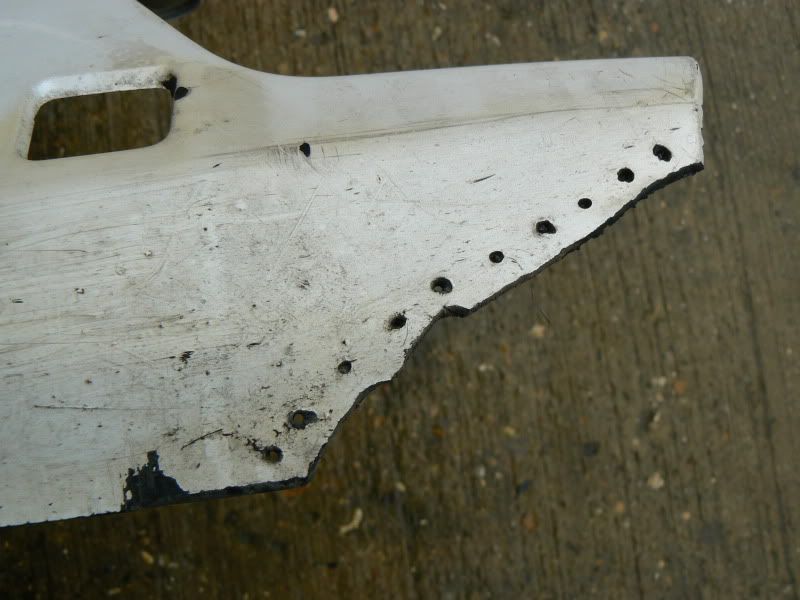
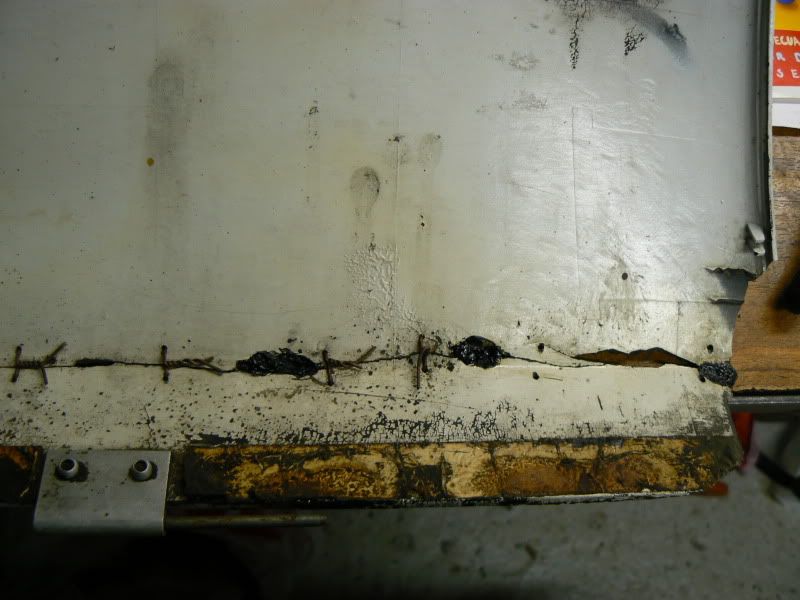
As you can see a huge split from a crash, a big chunk missing and some nice wired repairs, all these cut out and thrown away, slowly started to repair the cracks, working from the inside of the fairing first.
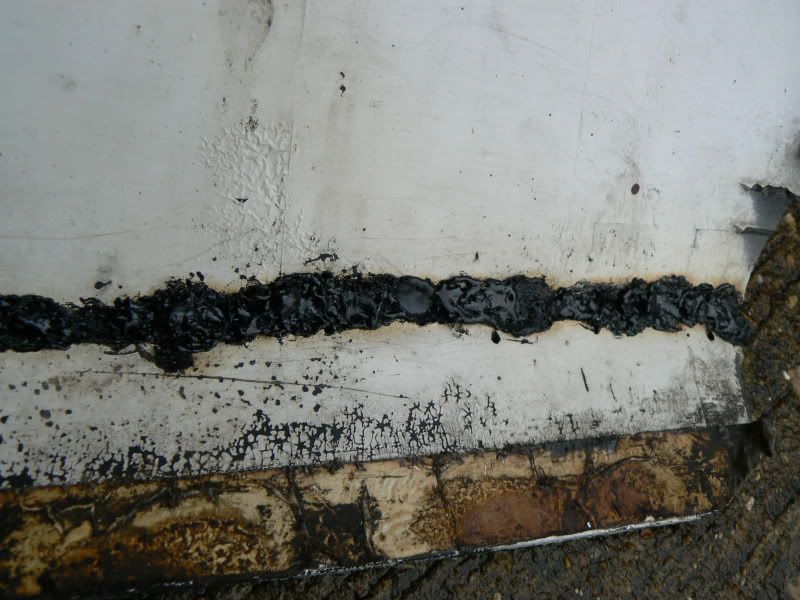
Then just got on with filling the missing part, and slowly building up the layers, the smokes a bit potent, so suggest an outside area or a fan/blower etc in future.
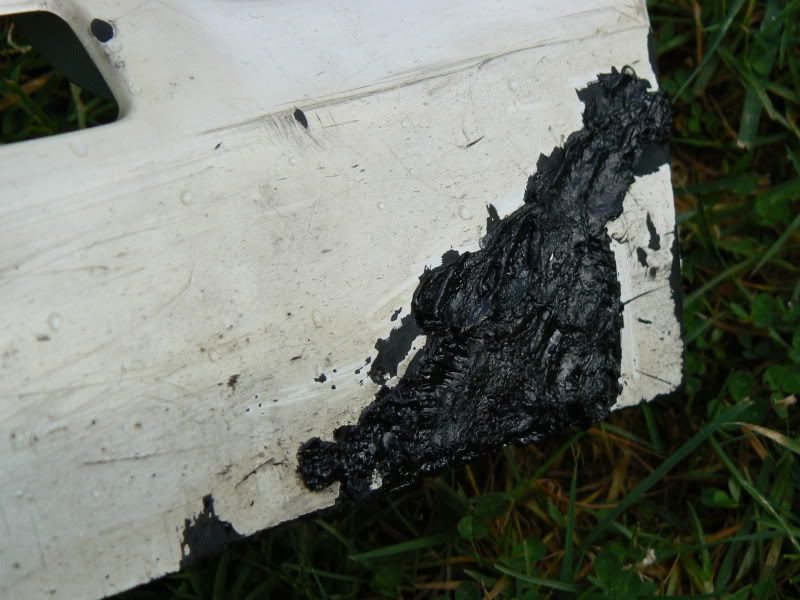
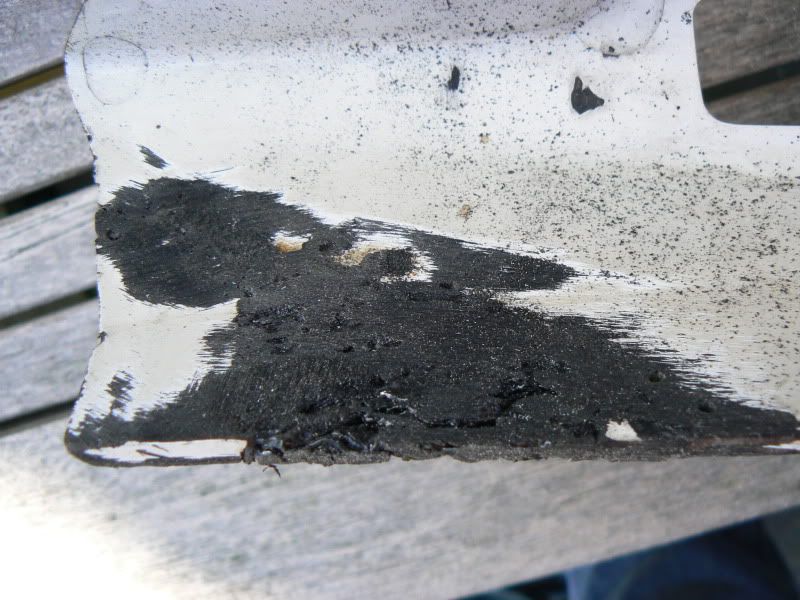
You can even see the shape of the coathanger in some of the pics, it was a good profile for the front end of the fairing, but just had to guess as it was missing on both sides,
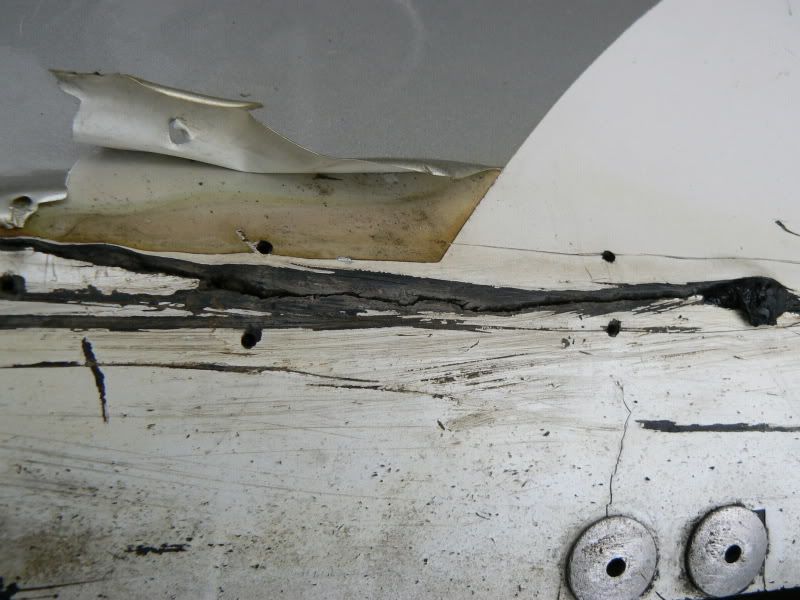
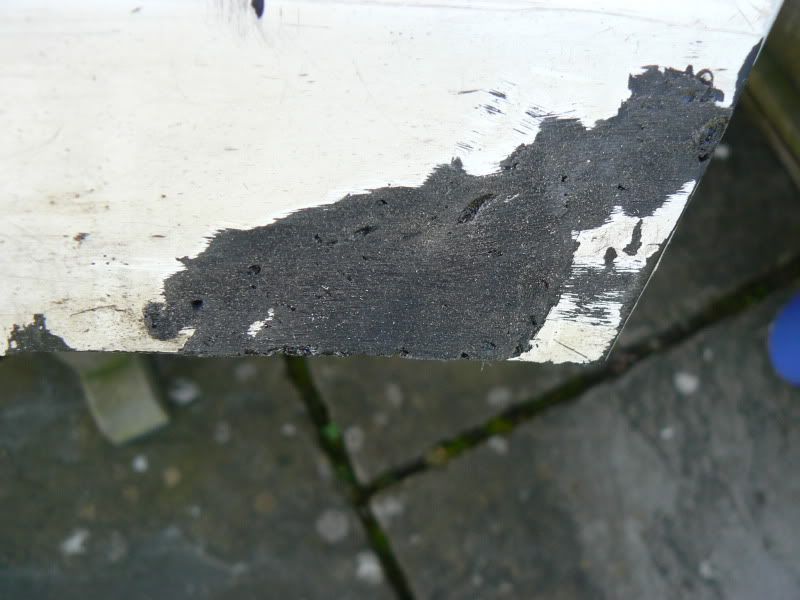
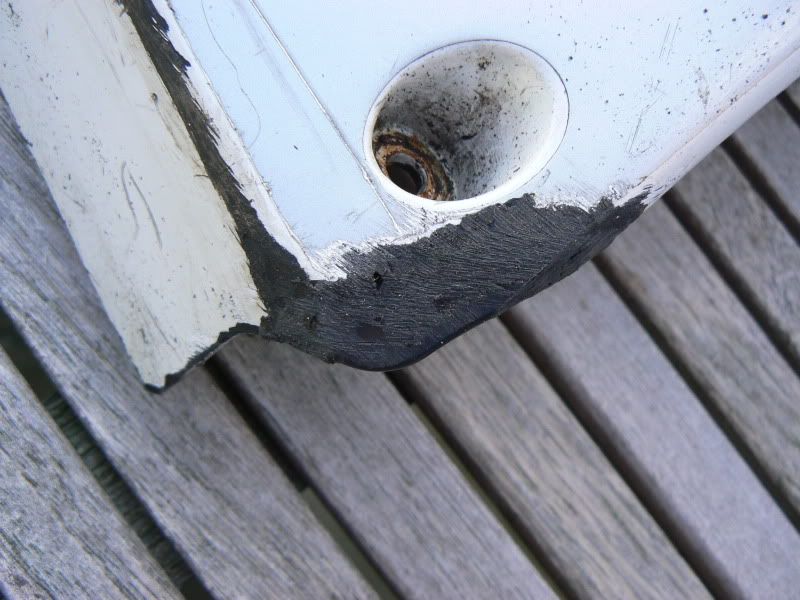
I have just roughly cleaned it all up with a belt sander, but I did have to make a new support bracket up, I drilled the bits I repaired and pop-riveted it back on, epecting it to shatter and snap off again, but it held up ok.
Now who's got a nice RC30 fairing they want repaired Give it a go it's very satisfying in the end |
|
| Back to top |
|
|
|
|
You cannot post new topics in this forum
You cannot reply to topics in this forum
You cannot edit your posts in this forum
You cannot delete your posts in this forum
You cannot vote in polls in this forum
|
|

